| How
to make a Counter-Strike: Source spray with transparency - with Paint Shop Pro By [HighHand] 2005 |
|
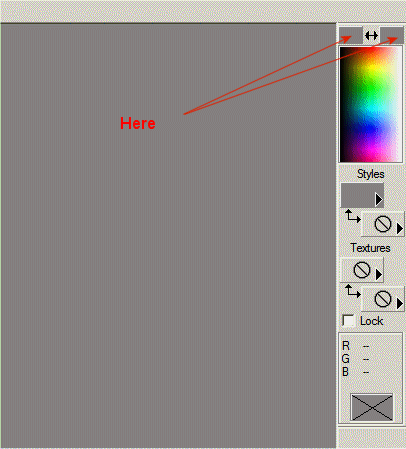
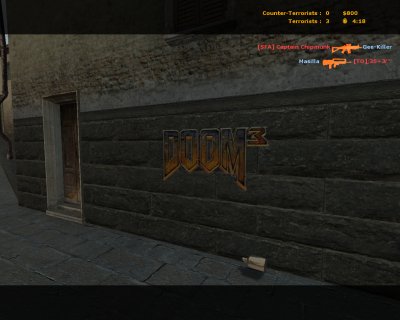
INTRODUCTION Whilst Photoshop is the preferred image editing software used for creating sprays some people find it hard to obtain this software - it's very expensive - unless you choose to get it by some alternate means. Paint Shop Pro (PSP) another popular imaging software and I know many people use this. I will try to write a tutorial on how to make transparent sprays using PSP. Unfortunely, I don't have the latest version so I will base my tutorial on PSP version 7.02. This version was actually a shareware a while ago so should be obtainable somewhere on the internet. MAKING THE SPRAY I won't write too much and will keep it concise. So use some common sense when following the next steps :D Start PSP. Set foreground and background colour to grey (can be any colour but use grey for the time being) by clicking on the boxes as shown.
Make your own picture or open one taken down from the web. I will use one I downloaded from the web. Yes it's the Doom 3 logo and I will show you how to make all the black bits transparent. Click on the logo to see the original size. Open this in PSP. Now you should see the Doom 3 logo in PSP. Just like Photoshop we need to create the outline of the image.
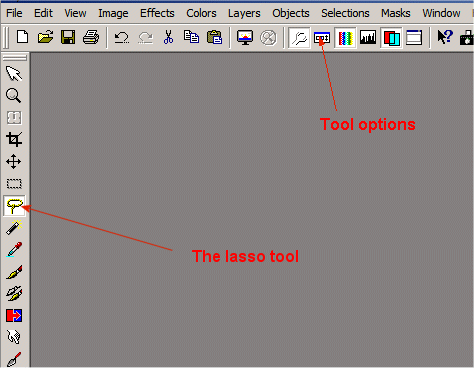
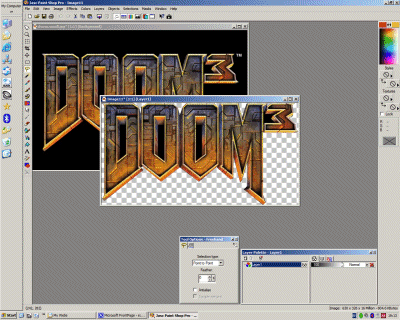
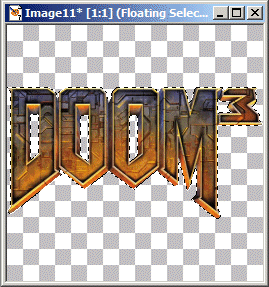
Use the lasso tool and press the tool options button so that it's depressed. After you will see a small window with menus and check boxes. Select "Point to Point". Uncheck "antialias". Now begin to draw, using the lasso tool, over outline of the Doom 3 logo. This logo naturally has lots of straight lines so should take relatively less time for the job. Use the right mouse button to end the selection. You should see a dotted outline around your Doom 3 logo. Press Ctrl+C and then Ctrl+P (copy selection and paste as new picture) and you should have something similar to this.
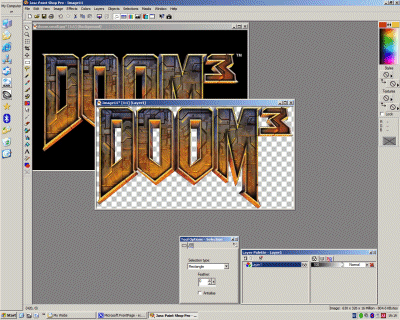
Notice we still have filled up parts in the D, O's and between M and 3. We need to cut those out. Now working on the new image, do the same thing with the lasso tool. Go round each of the black bits and when finished hit the delete button on your keyboard. Zooming into the image will definitely help you do a better job at the cuttings.
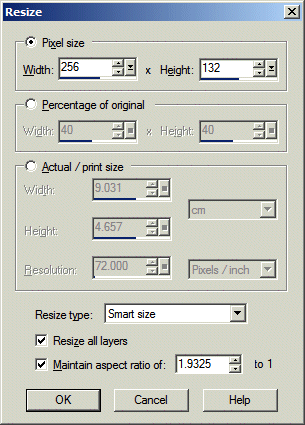
After you finished, you should see what's shown above. Now we need to resize this to fit into the Counter-Strike spray dimensions. First note down the size of your image. Press Shift+I and memorize the dimensions given. In this example mine were 630x326 pixels. Ask yourself which is bigger, the width or the height? Here width is larger (than the height). Press Shift+S (Image > Resize) and enter 256 into the dimension that was larger. Here, it would be the width. Now make sure both both boxes "resize all layers" and "maintain aspect ratio..." and ticked. If the dimensions changes change it back to 256 in the correct boxes.
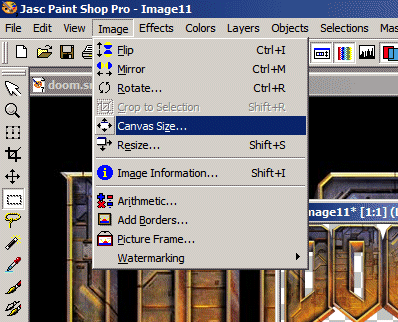
In the "resize type" menu, choose whatever you prefer. Use "Smart resize" for now. Press OK. You should get a new smaller looking Doom logo. The image size has to be a square and here we have and rectangle, namely, 256x135 pixels. So we need to resize the canvas. On the menu, select Image > Canvas Size.
Enter 256 into new width and new height when the Canvas windows appears. Make sure the two other boxes are ticked - to centre the image after resize. Now you should see your logo in the centre of the 256x256 canvas. Now we need to select the Doom logo. Hold Ctrl+A (select all) and then left click once on the logo. Now you should see the dotted line around the logo.
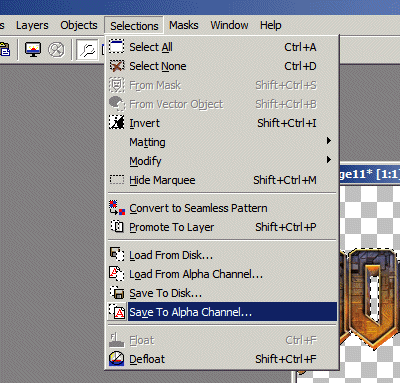
Go to Selections > Save to alpha channel.
A new window appears showing the alpha mask (the transparency mask). The white bits are opaque and black bits see-through. See if that's what you expect. I expect the logo to be the spray so that's white. When you think that's right, click OK and then OK again (enter a nice name for this layer if you wish...). Now you're back to the logo. Save the image as a TGA file (Truevision targa) and remember where you saved it to. The desktop would be a nice place. You would probably get a warning message like this one: Click on above image to see actual size. Click OK since we only need one alpha channel anyway... Now convert the TGA file to vtf. Use Vtex. I'll assume you can use vtex and that you've converted it. You should get two files, vtf and vmt. Place these into: <"Program files">\Valve\Steam\SteamApps\<account name>\counter-strike source\cstrike\materials\VGUI\logos Now run Counter-strike and select the logo in options!!! :)
Final word... This tutorial uses the Lasso point-to-point tool to cut the image out because it universal. This method works for ALL images. The cutting can only be as good as how you cut it. There's another useful tool called the Magic Wand which selects the cut area automatically. How good this works depend entirely on the nature of the image and how much tolerance you set for it. To best understand the Magic Wand tool you need to experiment with it on different pictures.
|
|
® 2003 Id Software, Inc. All rights reserved. Distributed by Activision Publishing, Inc. under license. DOOM and id are registered trademarks of Id Software, Inc. in the U.S. Patent and Trademark Office and/or some other countries. © 2004 Valve Corporation. All rights reserved. Counter-Strike. |
